Add a Project Image
To help distinguish projects you manage on Tableau Server (and help your users find them), you can add an image that appears in the thumbnail. Your image must meet the following requirements:
- The image must be accessible using HTTPS protocol. Shared network directory and related protocols (UNC, SMB, AFP, NFS, etc) are not supported. HTTP protocol for project images is not supported by Google Chrome.
- All users who access the project must have, at a minimum, "read-only" permission on the target image.
- The image must be common internet format: .jpg, png, or gif.
Set a project image
-
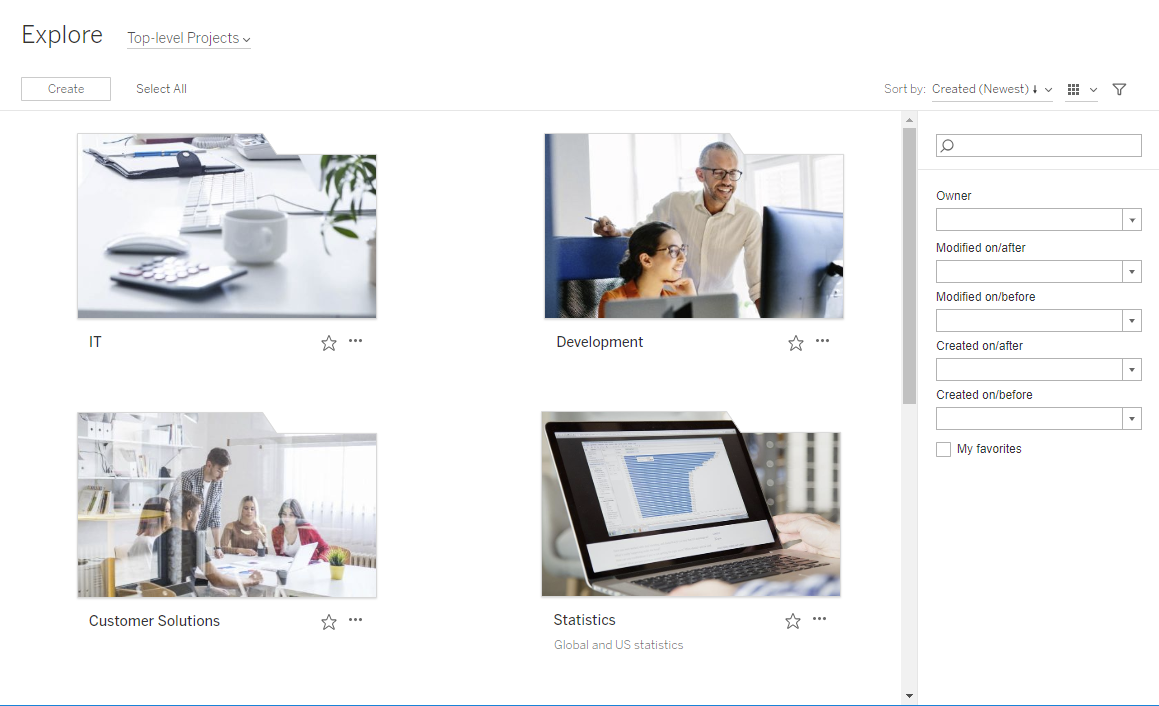
Sign in to a site on Tableau Server. In the list of Top-level Projects you have access to, select or navigate to the project you want to update. In this example, we'll add an image to the Statistics project folder.
If you're not sure where to find a child project, use the Explore drop-down list and select All Projects.
-
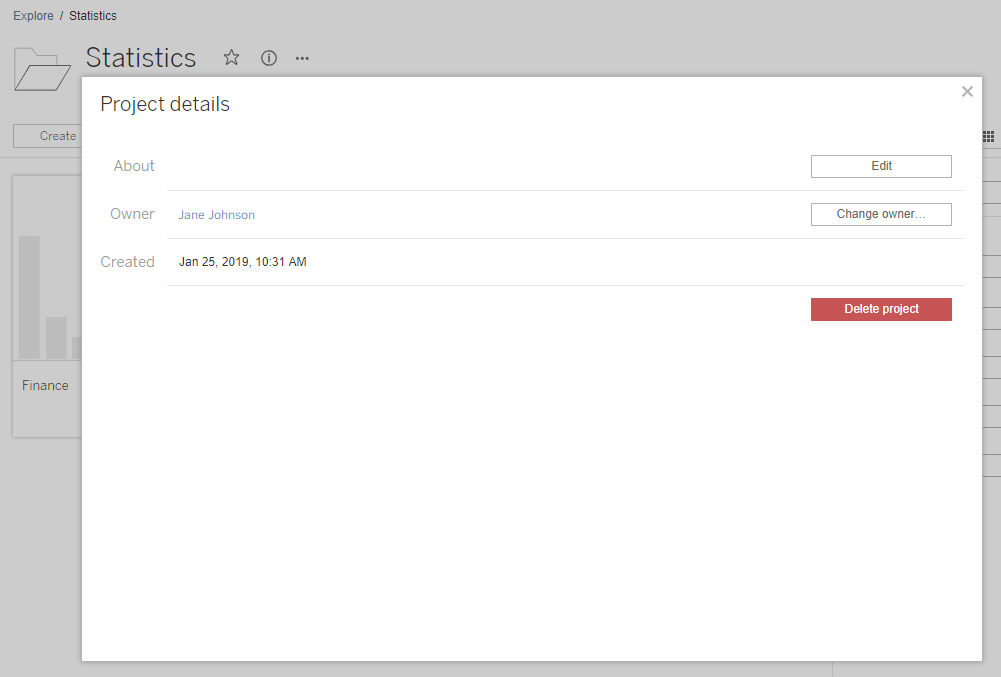
Click the Details icon (i), to open the Project details dialog box, and then click Edit.
-
In the About field, you can enter a description for your project (optional), for example "Global and US statistics." At the end of the project description, add the URL for your image using the following syntax:
!http://www.example.com/image.png!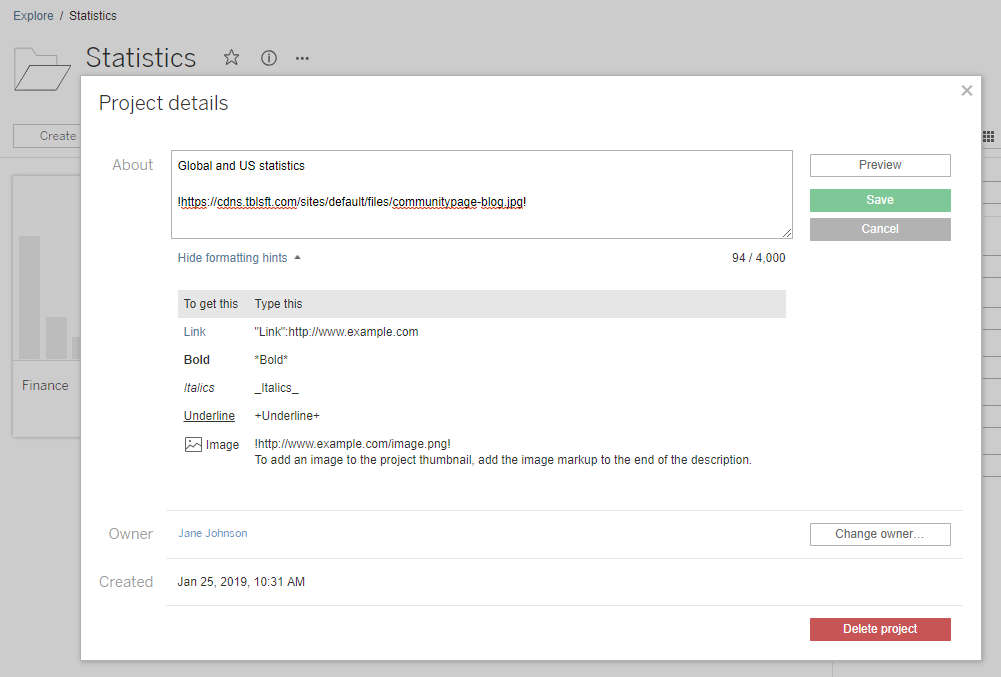
Select Show formatting hints to see how you can format description text.
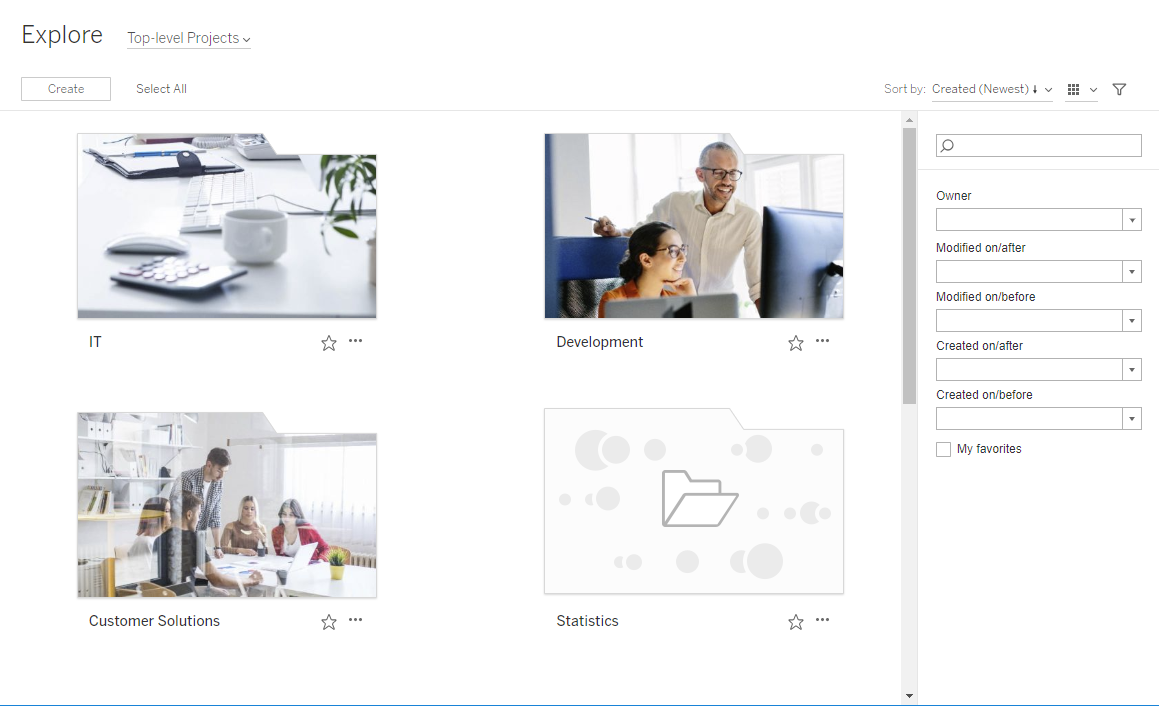
Note: Images embedded in project descriptions cannot be resized or positioned. Recommended size is (300 x 184 pixels). Images that are not 300 x 184 pixels may be stretched, shrunk, or cropped to fit the width of the thumbnail. In addition, they must be added at the end of the project description and be enclosed in ! (exclamation marks), otherwise they will not be displayed as the thumbnail.
-
Click Save.