Navigate and Organize Sheets
You can navigate and organize sheets in a workbook using the sheet tabs, the filmstrips, or the sheet sorter.
There are three ways to navigate and view the sheets in a workbook:
Tabs at the bottom of the workbook
In the filmstrip view
In the sheet sorter view
The tabs are useful when you want to quickly navigate between a small number of sheets. If your workbook has a large number of sheets, you can use the sheet sorter to easily navigate them all.
You can also drag and drop to do the following:
Reorder the sheets
Create new sheets
Duplicate or delete existing sheets from any of the views
Each sheet is represented as a tab along the bottom of the workbook. Select any tab to open the corresponding worksheet.

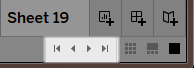
In the bottom right corner of the application window, there are several controls that you can use to advance through each sheet or quickly jump to the first or last sheet in the workbook. These controls are only available when there are too many sheet tabs to show across the bottom of the application window.
You can also navigate between sheets using the window menu or move through the multiple worksheets by pressing the left or right arrow keys on your keyboard.
To navigate through multiple worksheets, select a worksheet tab at the bottom of the workbook first.
Note: Navigating within a story is a different matter—there, you use the Navigator to move between story points. See Create a Story.
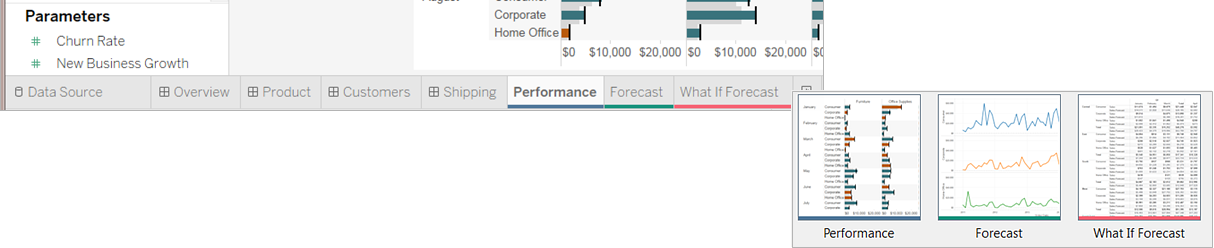
Similar to the sheet tabs, the filmstrip displays along the bottom of the workbook. However, instead of just sheet names, the filmstrip also shows a thumbnail image of each sheet. The filmstrip is useful when you are using Tableau to present your analysis and works well when you are working in Presentation mode.
Open the filmstrip by clicking the Filmstrip  button on the status bar( bottom right corner) of the workbook. Just
like with the tabs, select the thumbnail image for the sheet you
want to open. You can right-click the images to specify commands
that apply to each sheet.
button on the status bar( bottom right corner) of the workbook. Just
like with the tabs, select the thumbnail image for the sheet you
want to open. You can right-click the images to specify commands
that apply to each sheet.
Note: When viewed from a Retina display, workbooks that are created on a standard resolution device will show only the first thumbnail in the filmstrip in high resolution. To display all thumbnails in the filmstrip in high resolution, resave the workbook on a computer with Retina display.

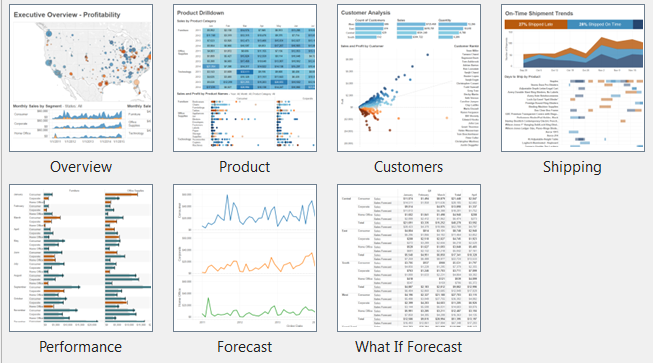
The sheet sorter shows
all sheets in a workbook as thumbnail images on a single page. The sheet
sorter is useful when you have a large number of sheets in
a workbook. Open the sheet sorter by clicking the sheet sorter  button
on the status bar (bottom right corner of the workbook).
button
on the status bar (bottom right corner of the workbook).
Right-click a sheet (Control-click on the Mac) to see these commands. You can also right-click (Control-click on the Mac) to refresh the thumbnail image of a particular sheet or Refresh All Thumbnails at once. If you have a large number of sheets, refreshing your view can take some time.
Use sheet commands to manage and organize your worksheets. For example you can create new sheets, duplicate sheets, copy formatting, apply color, or delete the sheet entirely.
You can access sheet commands on the right-click menu (Control-click on a Mac) in the worksheet, sheet sorter, or the filmstrip view. To apply commands to multiple sheets at once, press the Ctrl key (Shift key on a Mac), and then select the sheets.
To make it easier to identify and group sheets, you can assign a color to sheets. You can select from seven different colors. Selecting None clears the color.
To assign a color to sheets, select one or more sheets, right-click the sheets (Control-click on the Mac), select Color, and then pick a color.
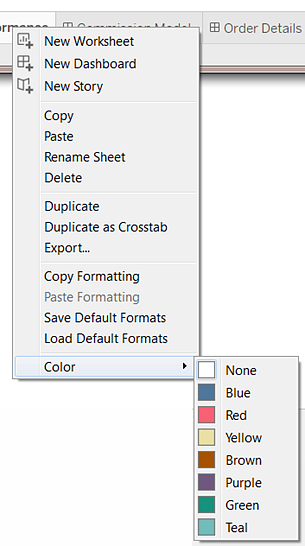
The color strip appears on the bottom of the tab or sheet.